
How to Set Up Custom DNS on Xbox for Faster, Lag-Free Gaming
If your Xbox gameplay feels laggy or unstable, a quick DNS change can make a big difference.
By switching to a custom DNS, you can boost connection speed, reduce ping, and enjoy a smoother online gaming experience — all without a complicated setup.
Why Change Your DNS on Xbox?
A custom DNS helps your console communicate more efficiently with game servers. It can:
- 🏎 Improve connection speed
- ⚡ Reduce latency and lag
- 🔒 Stabilize online gameplay
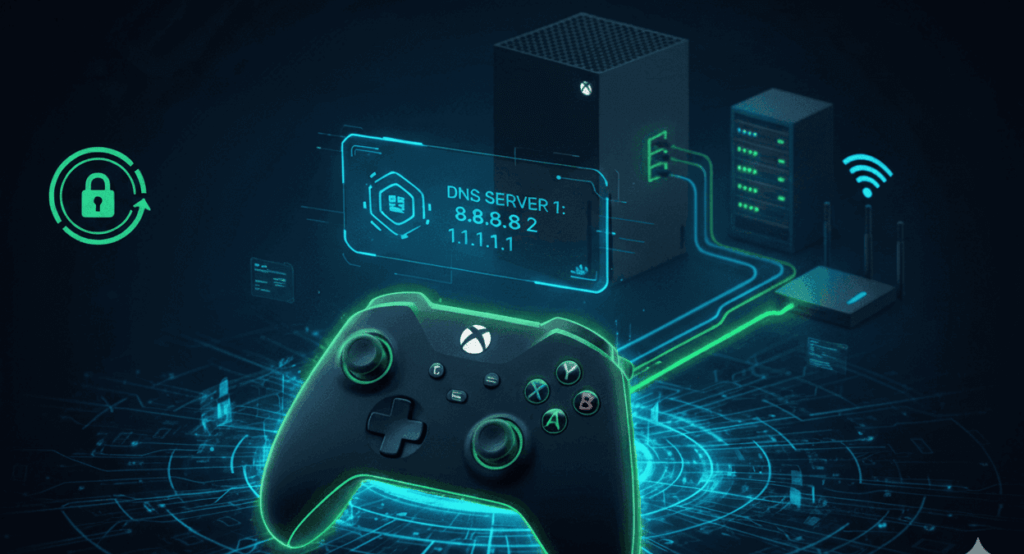
Use these recommended DNS addresses for the best performance:
- Primary DNS: 45.82.67.59
- Secondary DNS: 185.164.138.20
Step-by-Step: Set Up Custom DNS on Xbox
Follow these simple steps to change your DNS settings on Xbox:
⚙️ Step-by-Step Guide with Images
Step 1: Turn on your Xbox Console
Image placeholder: Xbox console powered on
Step 2: Open the Xbox Home Screen
- Press the Xbox button on your controller.
Image placeholder: Xbox home screen interface
Step 3: Navigate to Profile & System
- Go to the top-left corner and select Profile & System.
Image placeholder: Profile & System menu highlighted
Step 4: Open Settings ⚙️
- Select Settings from the menu.
Image placeholder: Settings icon highlighted
Step 5: Go to Network Settings
- Select General → Network Settings → Advanced Settings.
Image placeholder: Network settings page
Step 6: Configure DNS Settings
- Choose DNS Settings → Manual.
- Enter the following:
- Primary DNS (IPv4): 45.82.67.59
- Secondary DNS (IPv4): 185.164.138.20
- Press Continue, then Save Settings.
Image placeholder: DNS settings screen with manual entries
Step 7: Test Your Connection
- Go to Network Settings → Test Network Connection.
- Confirm that your DNS is active and working.
Image placeholder: Test Network Connection screen
Step 8: Connect via LobbyVPN for Maximum Performance
Step 8a: Restart Your Xbox
Image placeholder: Restarting the Xbox console
Step 8b: Open the LobbyVPN Dashboard
- Visit https://lobbyvpn.com/dashboard from a device on the same network as your Xbox.
Image placeholder: LobbyVPN dashboard on phone or PC
Step 8c: Select a Location & Launch Your Game
- Choose a VPN server location.
- Launch your game to confirm your in-game location has changed.
Final Step: If your in-game location updates successfully, your setup is complete. If not, contact LobbyVPN support via Discord or email at [email protected].
Image placeholder: Game running successfully with new location
You’re All Set!
Your Xbox is now optimized with custom DNS and LobbyVPN, giving you:
- Faster connection speeds
- Lower ping for smoother gameplay
- Secure and private online gaming
- Access to global servers
Final Thoughts – Level Up with LobbyVPN
While custom DNS can enhance speed, it doesn’t fully protect your privacy or bypass throttling.
That’s where Lobby VPN comes in.
LobbyVPN is a gaming-optimized VPN designed to:
- 🎮 Minimize ping and packet loss
- 🔒 Secure your data from ISP tracking
- 🌍 Unlock geo-restricted servers and content
Try LobbyVPN today and take your Xbox gaming experience to the next level — with faster speeds, stronger privacy, and uninterrupted gameplay.
👉 Also read – How to Connect PS4 to the Internet Wireless