
How to Connect Steam – Best Settings for Faster Downloads (Easy Guide)
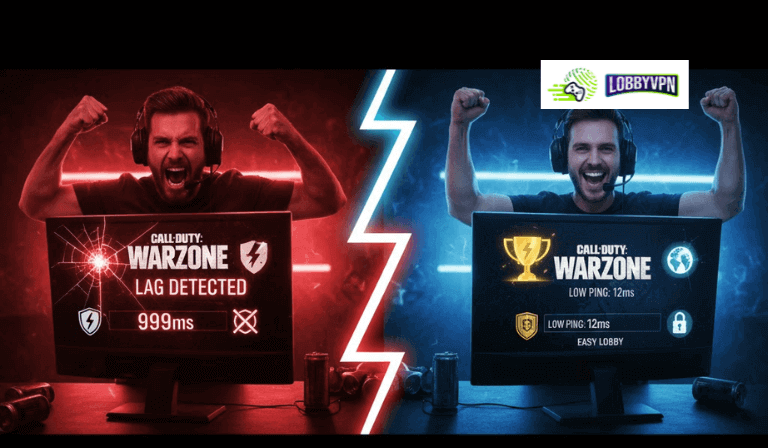
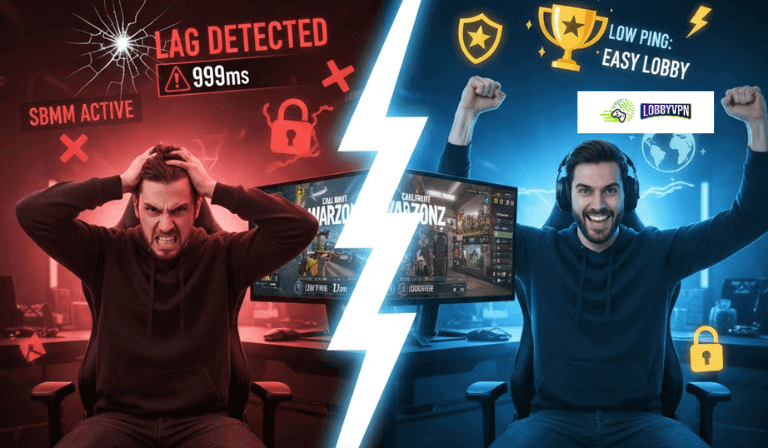
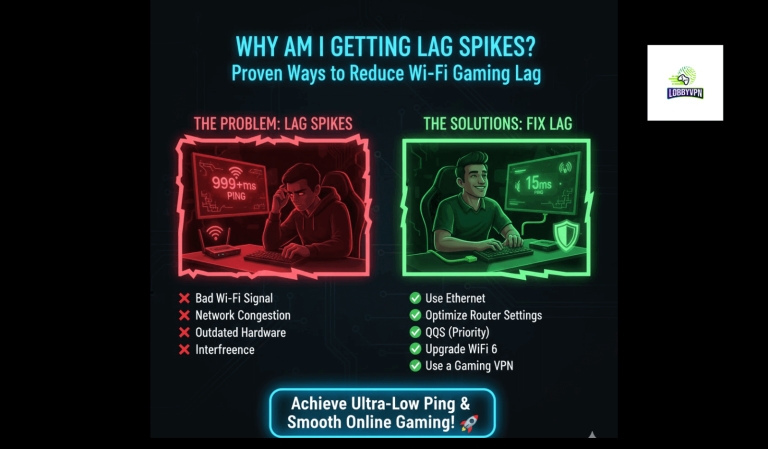
Is your Steam download speed crawling, or is the client disconnecting too often?
You’re not alone. Slow connections are usually caused by default DNS settings — but the fix is surprisingly simple.
In just a few minutes, you can change your Steam DNS settings and unlock smoother gameplay, faster downloads, and fewer connection errors. Let’s dive in 👇
⚙️ Step 1: Open Network Settings
- Press Windows + R → type
ncpa.cpl→ hit Enter. - This opens your Network Connections window.
🔧 Step 2: Modify Your Network Adapter
- Right-click your active connection (Wi-Fi or Ethernet).
- Select Properties.
🌐 Step 3: Open IPv4 Properties
- Scroll down and click Internet Protocol Version 4 (TCP/IPv4).
- Click Properties to edit your network settings.
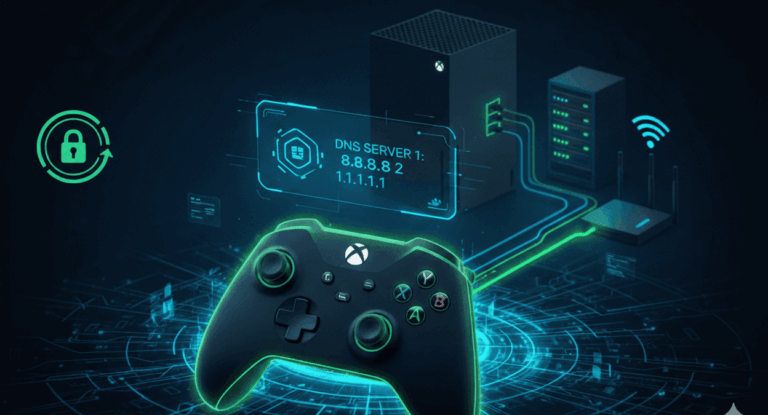
🔢 Step 4: Set Custom DNS Servers
- Select Use the following DNS server addresses.
- Enter these recommended DNS values for the best Steam connection:
- Primary DNS: 45.82.67.59
- Secondary DNS: 185.164.138.20
💾 Step 5: Apply and Close
Click OK, then Close to save your settings.
🧹 Step 6: Flush DNS Cache
- Press Windows + R, type
cmd, and hit Enter. - In Command Prompt, run:
ipconfig /flushdns - Hit Enter — this applies your new DNS immediately.
🔄 Step 7: Restart Steam
- Close Steam completely.
- Reopen it — all downloads, updates, and logins will now use your new DNS.
🧠 Step 8: Test Your Connection
- Go to Steam → Settings → Downloads → Download Region to see if speeds improve.
- (Optional) Run this command to refresh your Steam cache:
steam://flushconfig
You’re All Set!
You’ve now optimized your Steam connection settings for faster performance and lower lag. Enjoy smoother downloads and more stable gameplay sessions!
Connect with LobbyVPN
Once the DNS setup is complete, restart your device and head over to:
👉 https://lobbyvpn.com/dashboard
Select your desired location on the LobbyVPN dashboard.
Important: Ensure your phone (the device accessing the dashboard) is connected to the same Wi-Fi network as your PlayStation.
Finally…
Launch your game and verify that your in-game location has changed. If everything looks good, you’re all set!
If your location doesn’t update, please reach out via Discord or email [email protected] for assistance.
That’s it!
You’ve successfully set up custom DNS on Android and connected to LobbyVPN for optimized performance and location flexibility.r, and safer.