How to Set Up Custom DNS on Android (Best DNS Settings 2025)
Setting up a custom DNS on Android can improve your connection speed, enhance privacy, and help you access restricted content with ease. In this quick guide, we’ll show you the exact steps to configure custom DNS settings on your Android device — no technical skills required.
How to Set Up Custom DNS for Android – Best Settings (Easy Guide)
Follow these simple steps to configure a custom DNS on your Android device for faster and more secure browsing.
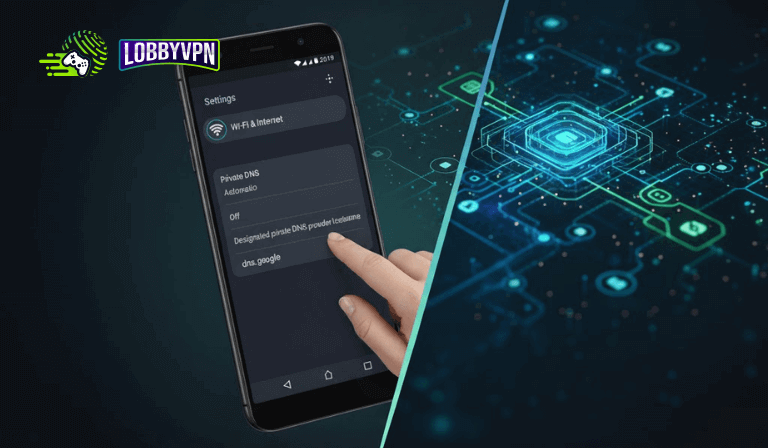
1. Open Wi-Fi Settings
Go to:
Settings → Network & Internet → Wi-Fi → Select your Wi-Fi network → Tap Advanced.
2. Change IP Settings
Scroll down to IP Settings and switch it from DHCP to Static.
3. Enter Custom DNS
Find the DNS 1 and DNS 2 fields and enter the following values:
- DNS 1 (Primary IPv4):
45.82.67.59 - DNS 2 (Secondary IPv4):
185.164.138.20
Then, save the settings.
4. Test Connectivity
Open your browser or any app to confirm that your internet connection is working properly.
5. (Optional) Set DNS for Mobile Data
Android doesn’t natively allow custom DNS settings for mobile data without using an app.
You can use one of the following free apps to set custom DNS for both Wi-Fi and mobile data:
- 1.1.1.1 by Cloudflare (Free & Fast)
- DNS Changer (Available on Google Play)
6. Connect with LobbyVPN
Once the DNS setup is complete, restart your device and head over to:
👉 https://lobbyvpn.com/dashboard
Select your desired location on the LobbyVPN dashboard.
Important: Ensure your phone (the device accessing the dashboard) is connected to the same Wi-Fi network as your PlayStation.
7. Final Step
Launch your game and verify that your in-game location has changed.
If everything looks good, you’re all set!
If your location doesn’t update, please reach out via Discord or email [email protected] for assistance.
That’s it!
You’ve successfully set up custom DNS on Android and connected to LobbyVPN for optimized performance and location flexibility.