
How to Set Up Custom DNS on iPhone – Best Settings (Easy Guide)
If your browsing speed feels slow or websites take too long to load, adjusting your DNS settings can help. Using a custom DNS for iPhone not only boosts speed but also improves security and can bypass region-based restrictions.
Whether you want smoother gaming, safer browsing, or faster streaming, this easy guide will show you how to set up custom DNS on your iPhone step-by-step.
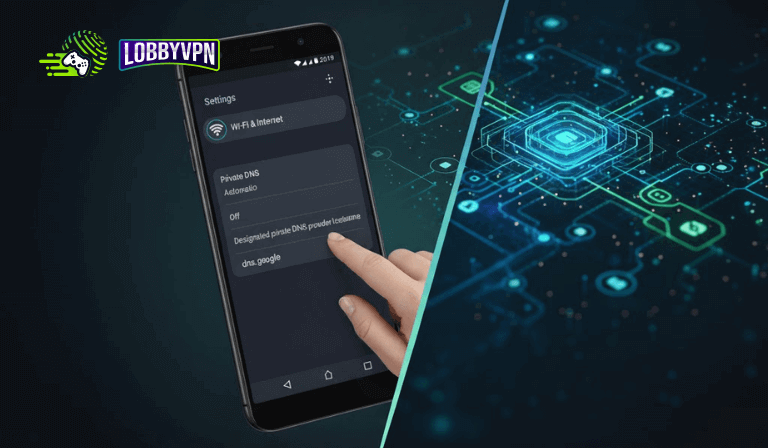
Step 1: Open Wi-Fi Settings
- Open your Settings app.
- Tap Wi-Fi.
- Tap the (i) icon next to the network you’re connected to.
Step 2: Configure DNS
- Scroll to the DNS section.
- Tap Configure DNS.
- Select Manual to enter your preferred DNS servers.
Step 3: Add Custom DNS Addresses
- Tap Add Server.
- Enter the following DNS servers:
- Primary DNS:
45.82.67.59 - Secondary DNS:
185.164.138.20
- Primary DNS:
- Delete old DNS entries if needed.
- Tap Save to confirm.
Step 4: Test Connectivity
Open Safari or any online app to verify that your internet is working properly.
If everything loads fine, your custom DNS setup is active.
Step 5: Optional – Set DNS for Mobile Data
By default, iPhones don’t let you manually change DNS for cellular data.
To apply custom DNS across all connections, install one of these free apps:
- 1.1.1.1 by Cloudflare – Simple, fast, and private.
- DNS Override – Full control over DNS across Wi-Fi and mobile data.
These apps route all traffic through your preferred DNS, improving consistency and privacy.
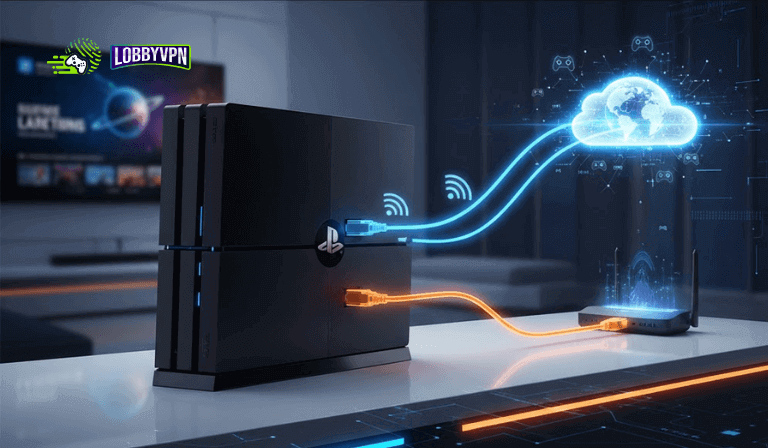
Step 6: For PlayStation Users (LobbyVPN Setup)
If you’re using LobbyVPN for gaming or unlocking regional access:
- Restart your PlayStation after setting DNS.
- Visit LobbyVPN Dashboard from your iPhone or another device connected to the same Wi-Fi.
- Choose your preferred location.
Important: Your iPhone (or device accessing the dashboard) must be connected to the same network as your PlayStation.
Final Step: Verify and Play
Launch your game and check if your in-game location has changed.
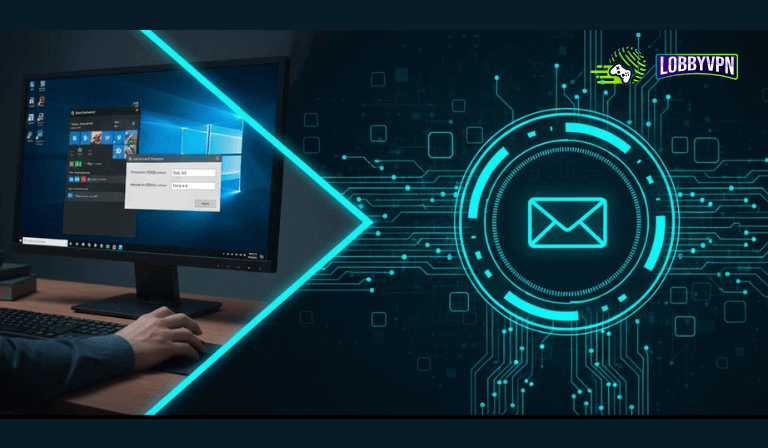
If not, contact LobbyVPN Support via Discord or email at [email protected] for help.
Congratulations! You’ve successfully set up a custom DNS on your iPhone and optimized your connection for better performance.
Conclusion
Setting up a custom DNS on iPhone is a quick way to improve browsing speed, privacy, and overall stability. By using reliable DNS servers, you can ensure faster loading times, safer connections, and smoother access to online content.
Pairing this setup with LobbyVPN takes your experience even further — ensuring both speed and security across all your devices.